
After a long period of freezing
temperatures and snowy winter, when sturdy boots and woolen socks were the most
essential clothing items, we are finally heading into "open-toed
shoe" season. Are your feet all set to slip on the trendy scandals that’s
out this spring for a stroll?
The answer is no matter. Cracked or polished heels? Dry feet or Soft smooth feet? Ill-treated or Artistic nails? However you choose to categorize your feet. It does not matter. A regular pedicure either at home or at salon is an essential ingredient to give your healthy lifestyle regime a boost. What are we waiting for? Now let 's move over to read the instructions on how to do pedicure step by step.
The answer is no matter. Cracked or polished heels? Dry feet or Soft smooth feet? Ill-treated or Artistic nails? However you choose to categorize your feet. It does not matter. A regular pedicure either at home or at salon is an essential ingredient to give your healthy lifestyle regime a boost. What are we waiting for? Now let 's move over to read the instructions on how to do pedicure step by step.
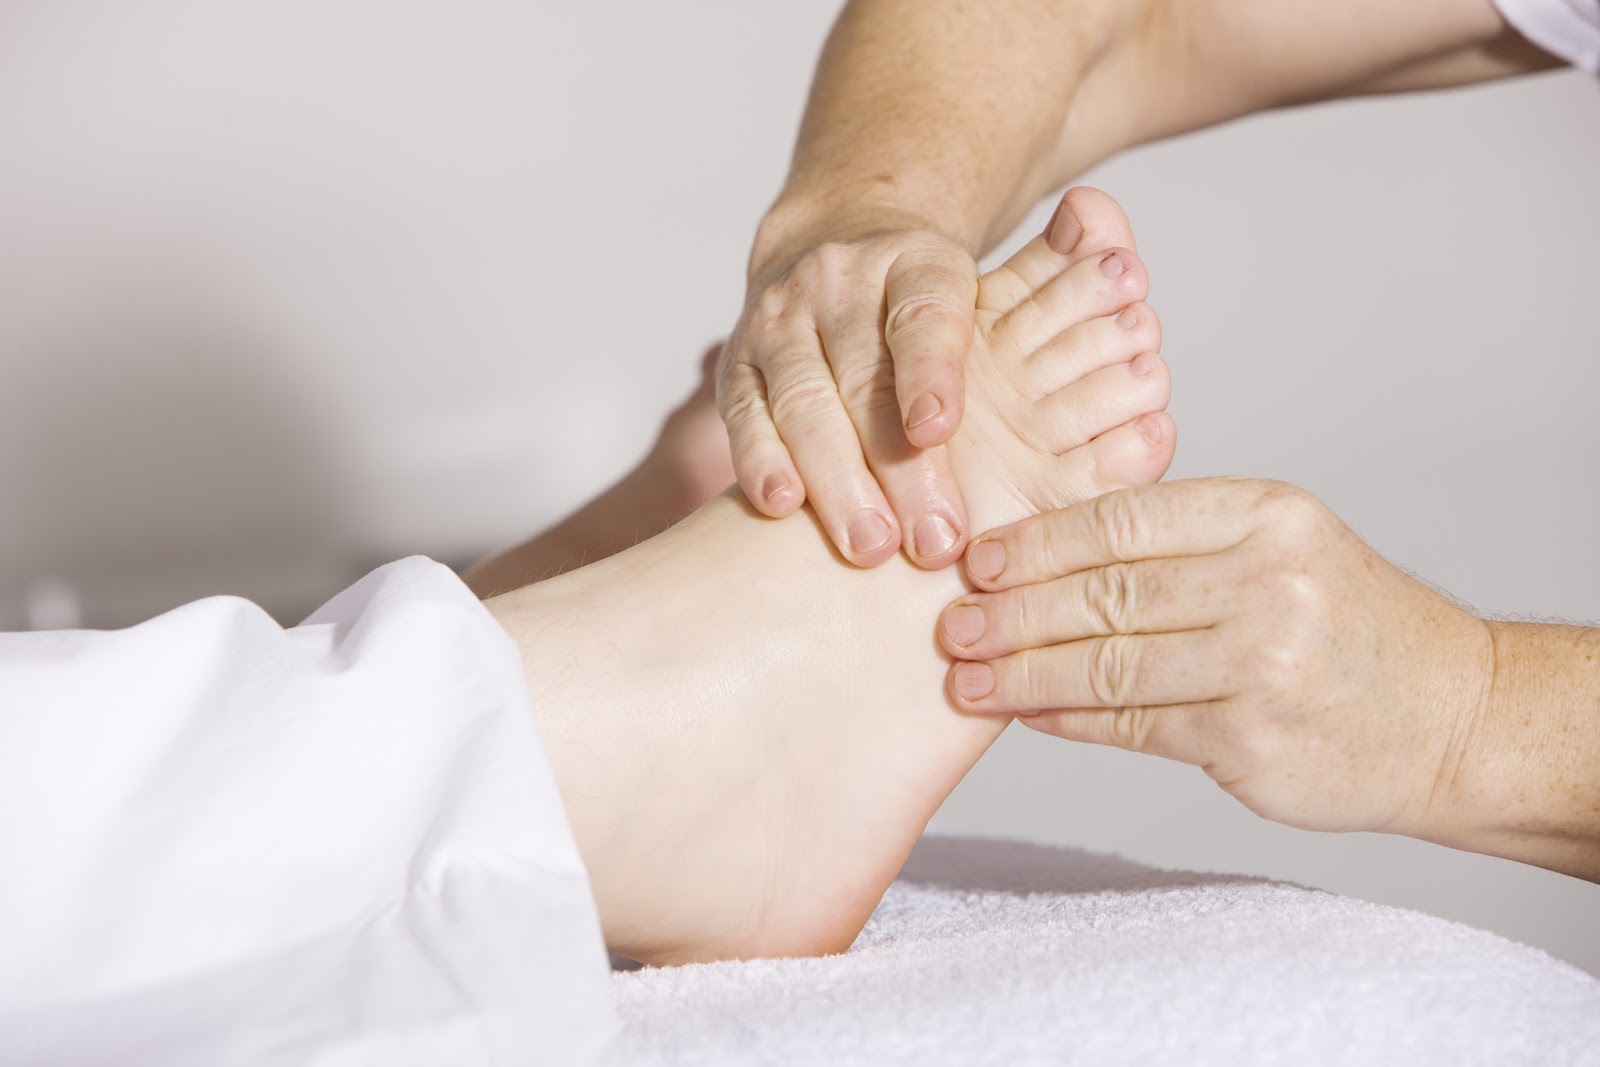 |
| How to do pedicure |
Remove the polish
The first part of a home pedicure is to get rid of all the
old paint using a bottle of varnish remover and some cotton wool. Follow the manufactures
instructions and make sure that you remove
all the old nail varnish.
Remove the dead skin
To soften the dead skin cells and remove them you will need
a bowl of warm water and a coarse Sponge. Allow your feet to soak for twenty
minutes or so while you watch TV or read a magazine and then use the sponge to
scrub away all the skin, this exfoliation will make your feet glow and feel so
much better. You can also use a foot file to remove any stubborn, thickened
skin from around the heels and base of your big toes.
Moisturize
The next stage is
possibly the best part, you will want to moisturize the skin of your whole
feet, around the heels, between the toes, and along the instep. Take your time
doing this as the more you massage the lotion in the better the result will be.
If you have a partner who can do this for you it is even better. When I am
doing my own home pedicure I even sometimes stop at this part, its heavenly.
Nail preparation
Now you are ready to get your toe nails ready for nail
varnish. Just like home decorating, preparation is the key to a good finish. Use
an orange stick to carefully push the cuticles back around the top of your
nails to get a smooth are. Now you will need to trim the nails straight across,
never cut down the sides of your nails. Once they are trimmed using a nail file
to get all the cut edges nice and smooth. A final stage in the preparation is
to use a nail buffer, rub this across the surface of the nails to achieve a
smooth shiny finish.
Paint application
By now your spa pedicure is almost complete and girl, don’t
those tootsies look good already. To finish the job you need to apply a base
coat, this is like an undercoat or primer and will ensure that your finish coat
goes on and another side, then allow it to dry thoroughly, this will take
around twenty minutes, allow it to dry naturally without using a hairdryer or
any other heater or it will not last.
Now you are ready to apply the finishing coat of nail varnish, use the same
three stroke method without overloading the brush and carefully apply the color
allow it to dry properly by keeping your feet up and avoiding getting any fluff
from the carpet into the varnish.
Once the polish is dry you have completed your home pedicure
which will be long-lasting and professional looking. When you keep nail
polishes in a cool, dry place like the fridge-they will last longer. With those
mentioned steps one can perform the pedicure procedure successfully.
ConversionConversion EmoticonEmoticon